A Step-by-Step Guide to Animate Your Own Signature
Write it
Get a pen and some paper
Write your signature
Take a photo of your signature (or scan it into your computer)
Get your photo on your computer however you like
Trace it
1. Open After Effects
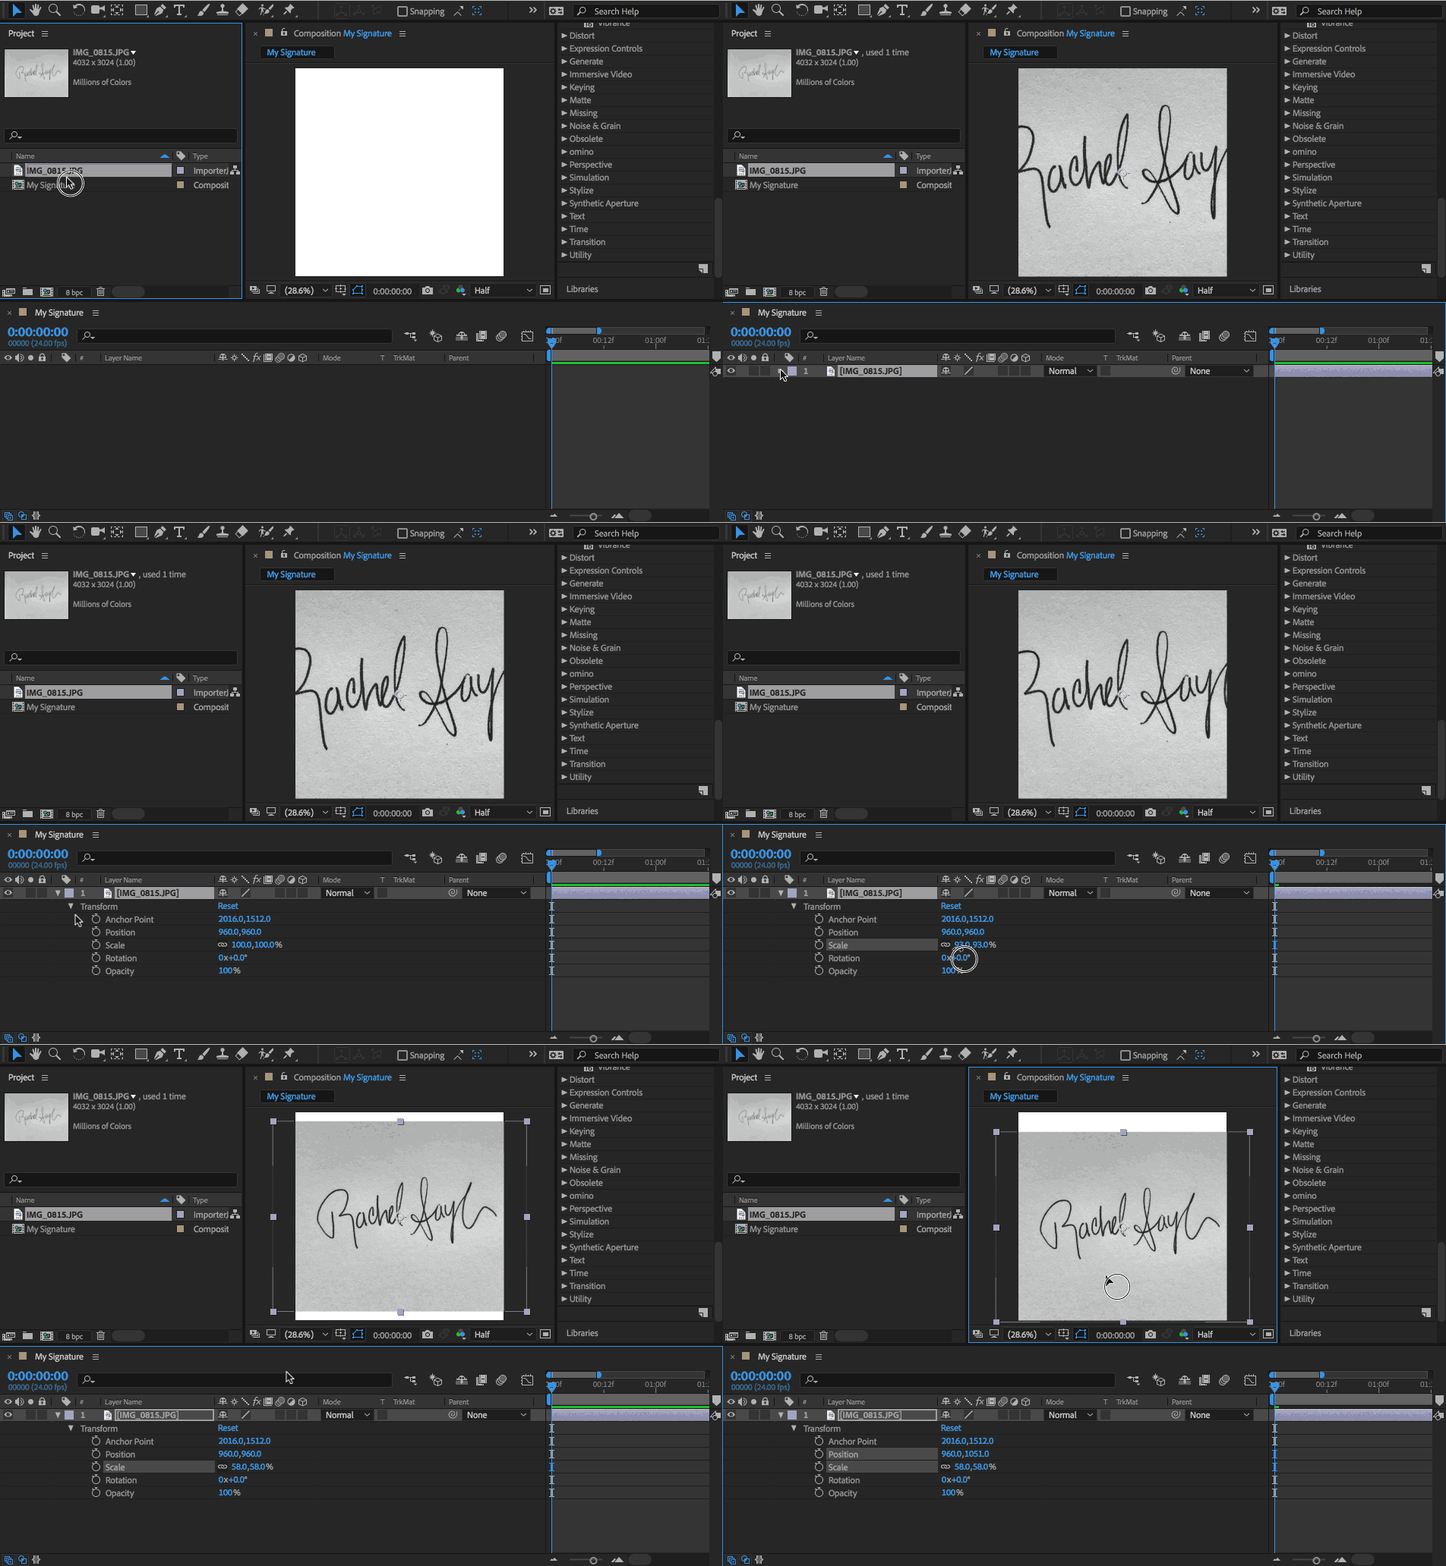
2. File > Import > navigate to your photo and hit "Open"
3. Composition > New Composition (match settings that you see settings below)
4. Click and drag the image of your signature into the timeline (you may need to scale and center it)
5. Select the Pen tool (G)
6. Trace the signature (Tip: click off the shape layer before starting to draw a new stroke whenever you picked up the pen)
Animate it
1. Toggle down the layer and add trim paths
2. With the playhead at 0 seconds, click the stopwatch on End to add a keyframe
3. Set End to 0%
4. With the playhead at 3 seconds, change the End value to 100%
5. Copy/Paste Trim Paths to each layer
6. Space out the layers in the timeline, lining the the first and last keyframes (Tip: Spread out the keyframes on layers with more letters)
Export it
UPDATE: You can export GIFs out of Adobe Media Encoder now 🎉
In After Effects…
1. File > Export > Add to Adobe Media Encoder Render Queue
2. Format > Animated GIF
3. Click green play button to render
Or you can create GIFs the old way:
1. File > Export > Add to Adobe Media Encoder Render Queue
2. Format > H.264
3. Preset > Match Source - High bitrate
4. Click green play button to render
To make it a GIF...
5. Open Photoshop
6. Import the video you exported
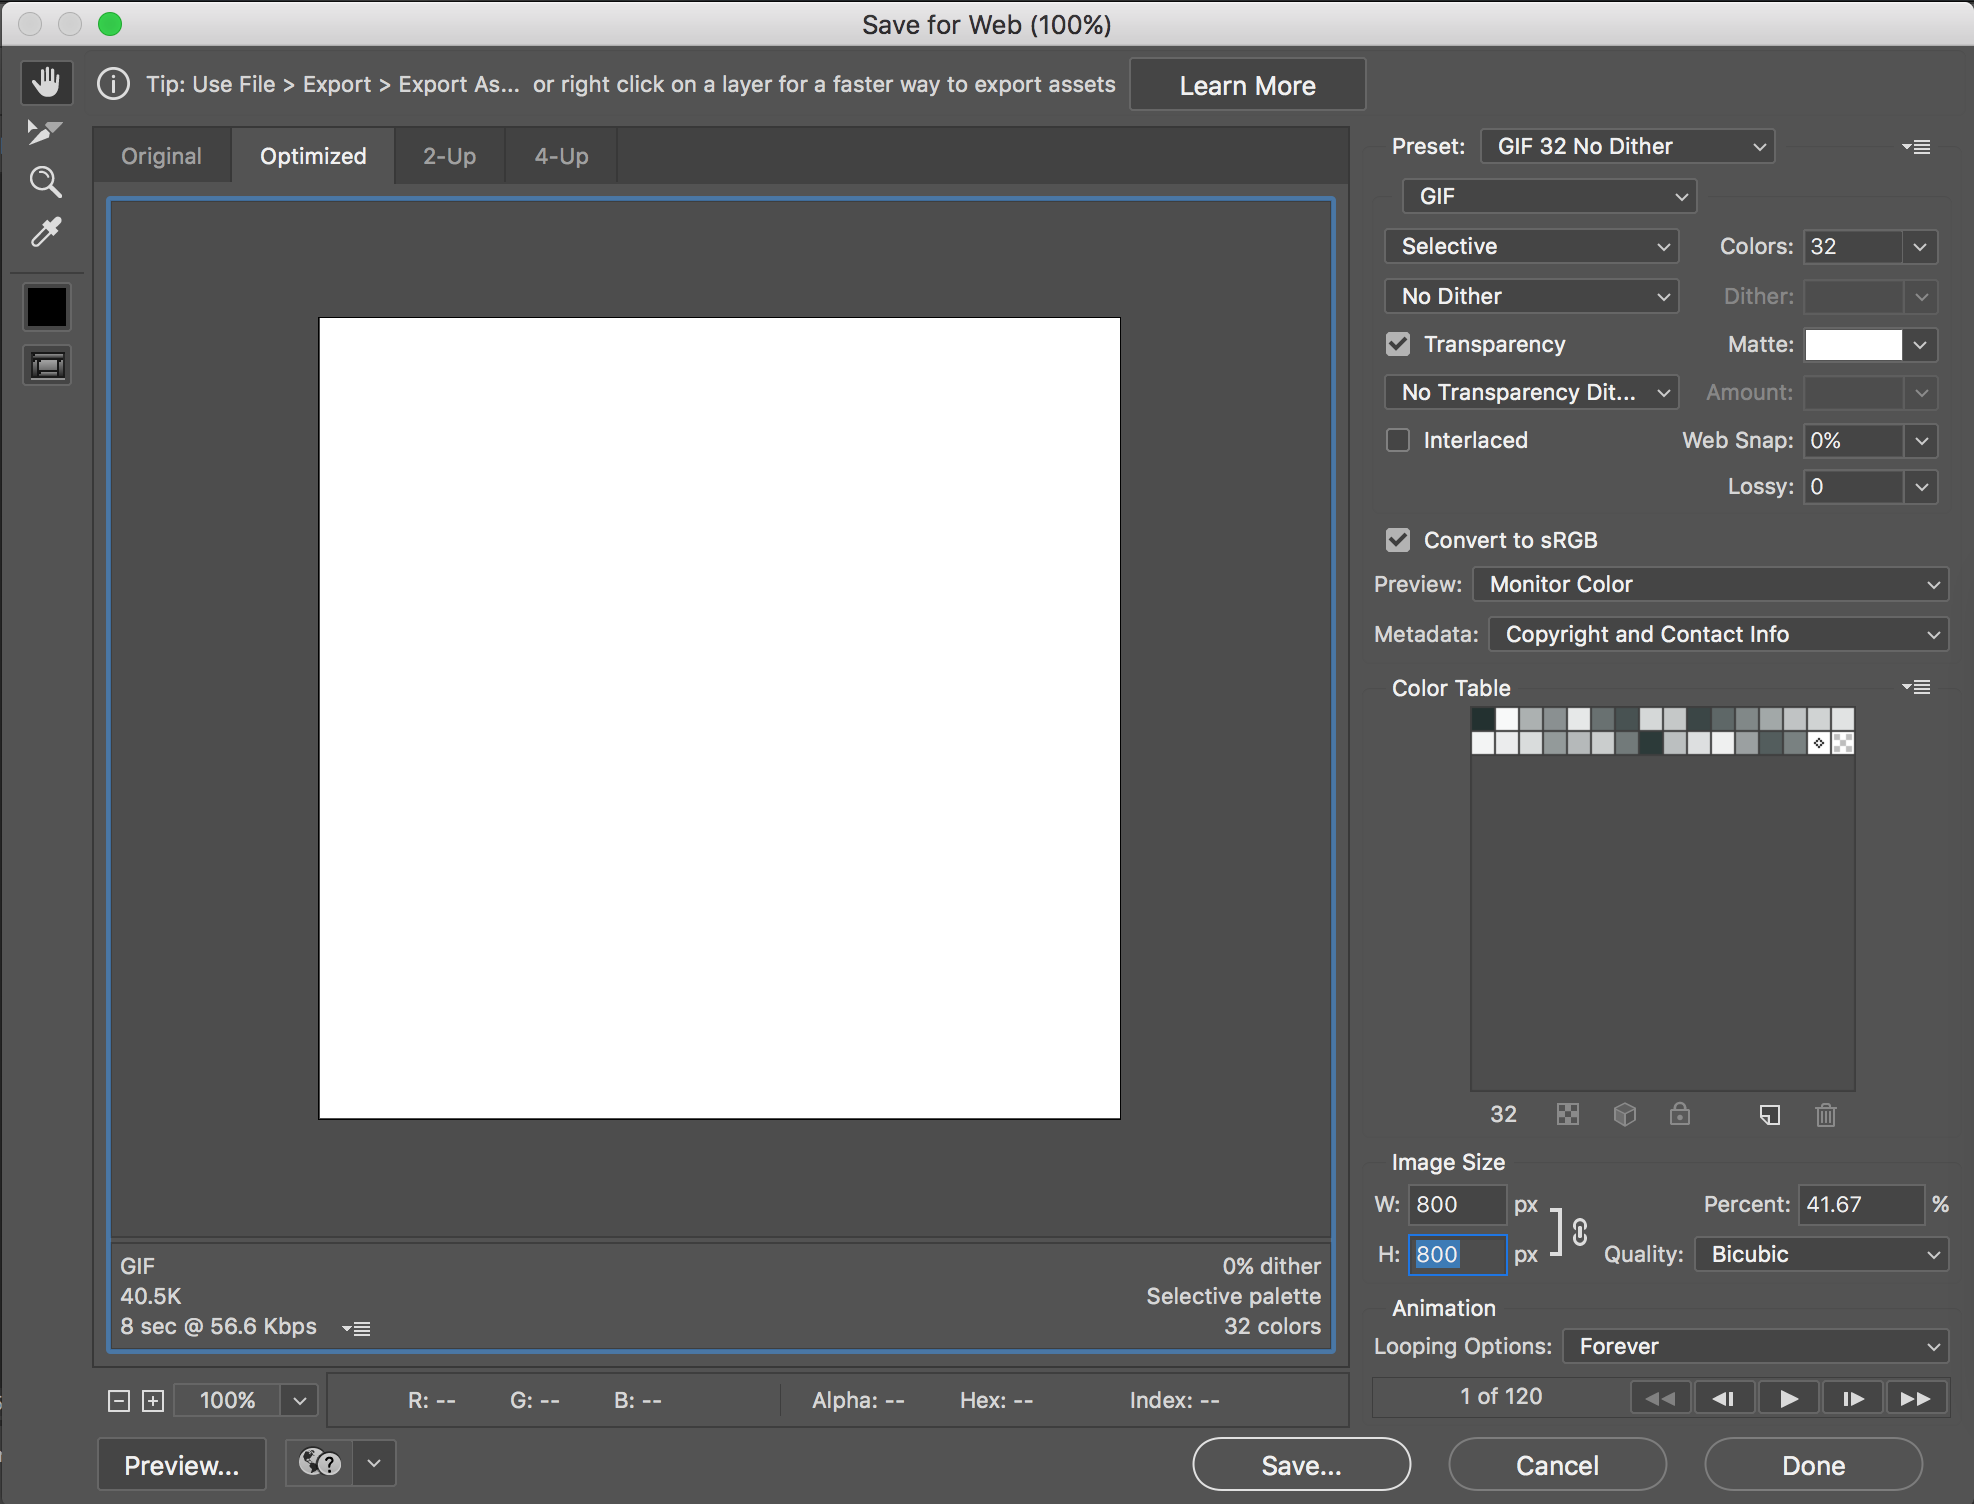
7. File > Export > Save for Web (legacy)
Hi 👋 I'm Austin Saylor
I've been animating in After Effects for many years for clients like Honda, Chick-fil-A, Vans, and Texas Instruments.
In the past few years I've been focusing on animating custom lettering. Lettering is such an expressive form of communication and I love infusing life into it with motion.
If you love lettering and you love animation, this is the place for you!
See more lettering animation here: @itsaustinsaylor


